Red Dead Online roles farming guide: best routine for each role
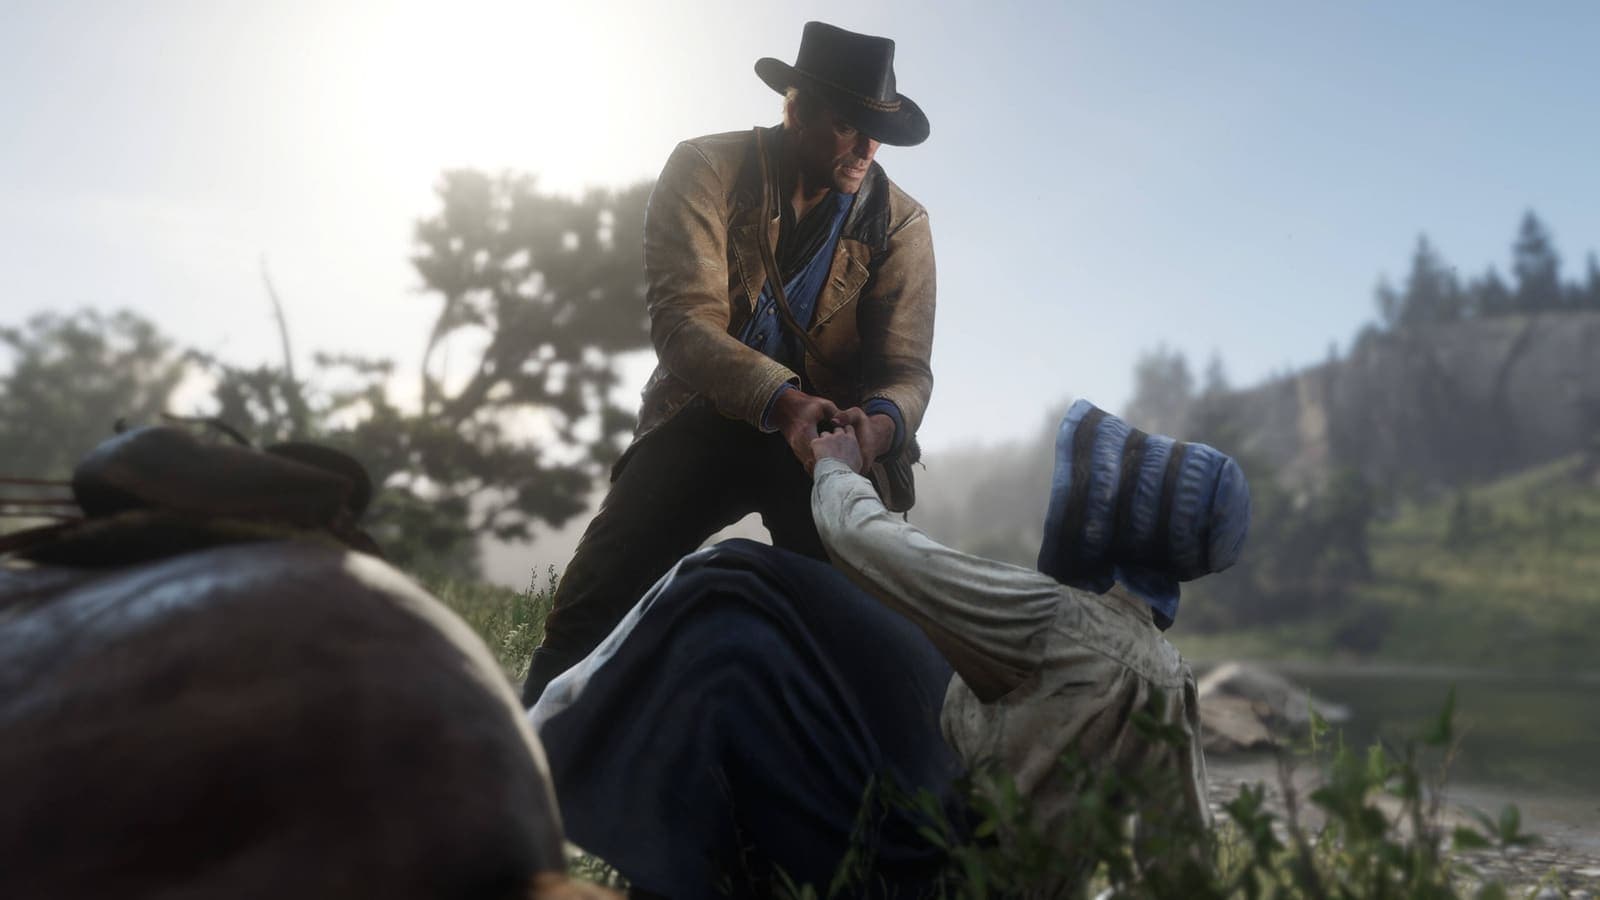
Image: official screenshot © Rockstar Games
Quick answer
The best grind in Red Dead Online is stacking: Trader and Moonshiner produce while you hunt bounties or dig for collectibles. Prioritize the purchases that change everything: the Large Delivery Wagon (Trader rank 10), the Metal Detector (Collector rank 5) and the Polished Copper still upgrade (Moonshiner rank 10). Always sell full wagons and complete collections.
Buying a role is one thing. Running it efficiently is another. This guide breaks down, role by role, the routine that pays best, the items to unlock and at which role rank, then how to stack several roles in a single session. If you're just starting out, read our Red Dead Online beginner guide first, which covers role prices and the order to buy them in.
The summary table
| Role | Cost to start | Best routine | Typical payout |
|---|---|---|---|
| Bounty Hunter | 15 gold bars | Bring targets in alive, take your time | Cash + gold, more for live targets and longer runs |
| Trader | 15 gold bars | Perfect kills near camp, distant delivery of a full wagon | Around $500 for a full Large Wagon locally, more on distant runs |
| Collector | 15 gold bars | Treasure Maps + Metal Detector, sell complete sets | $540 for the Coins set, $378 for Rings |
| Moonshiner | 25 gold bars | Strong flavored moonshine, delivered intact | Under $100 for weak moonshine, much more once the still is upgraded |
| Naturalist | 25 gold bars | Sedate + sample for Harriet | Varies by animal, no fixed published rate |
These payouts are base values. Monthly events regularly double or triple specific activities, so always check the month's bonuses before picking your role for the day.
What to know about role ranks
Each role has its own ranks, separate from your player rank. Every rank gives you Role Tokens, which unlock the role's items that you then buy with cash. Items are grouped into tiers: Novice, Promising, Established and Distinguished. Satchel upgrades unlock automatically at set ranks. Good news: the total number of tokens you earn is exactly enough to unlock everything, so no choice is permanent.
Bounty Hunter: play the clock
The routine. Pick up a contract on a Bounty Board, clear out the guards while sparing the target, lasso them and bring them in alive. Two rules make all the difference:
- Alive, always. A live target pays more, and some Legendary Bounties fail outright if the target dies.
- Don't rush. The cash and gold reward increases for every three minutes you spend on the contract. Players farming cash take their time, while those after Role XP chain contracts quickly.
Key items:
| Item | Role rank | Why |
|---|---|---|
| Reinforced Lasso | 1 | $350: targets escape far less often |
| Bolas | 10 | Stops a fleeing target in its tracks, $30 |
| Bounty Wagon | 10 | $875: several targets at once, no escape while the wagon holds |
On the skills side, your Tonics Satchel grows at rank 6 and your Kit Satchel at rank 9. At rank 12, you can hunt other players who have a bounty on their head. Legendary Bounties, tougher and scripted with their own cutscenes, pay significantly more than regular ones: they're the role's best earner once you're well equipped, ideally with a posse. And once you reach rank 20, the Prestigious Bounty Hunter License adds 10 more ranks.
Trader: fill the wagon, then go far
The routine. Hunt, donate carcasses and pelts at the Butcher's Table, let Cripps turn materials into goods, and deliver once the wagon is full. The details that matter:
- Go for perfect carcasses. A perfect buck gives 10 units of materials; a cougar gives a bit more, but it's rarer and harder to bring down cleanly. Don't skin the carcass: Cripps takes pelts, but not a skinned carcass.
- Bring back two carcasses. Your horse carries one, and your lasso can drag a second.
- Manage supplies. Cripps needs a supply run every 25 units of goods produced. You can do the resupply mission (good for Role XP) or order them for $20.
- Only sell full wagons, ideally on a distant delivery: it pays more than a local one. A full Large Wagon is worth around $500 on a local delivery.
Key items:
| Item | Role rank | Why |
|---|---|---|
| Medium Delivery Wagon | 5 | $500: 50 goods instead of 25 |
| Large Delivery Wagon | 10 | 100 goods, requires the Medium Wagon |
| Hunting Wagon | 10 | $875: several large carcasses per trip |
The Efficiency skill at rank 11 increases the materials you get from perfect carcasses. Your Ingredients Satchel grows at rank 6 and your Materials Satchel at rank 13. Pitch your camp near an area rich in big game: less travel, more materials, and fewer run-ins with hostile players.
Collector: treasure hunting that pays
The routine. Buy a Treasure Map from Madam Nazar, head to the marked area, dig up or pick up the items, and sell complete sets. A few rules:
- One active map at a time. Opening a new one discards the previous one, unless you've marked the spots on your map.
- Keep duplicates. They help you complete the next set much faster.
- Pick your sets. Price isn't everything, the number of items counts too: Bracelets need 8 pieces and a Tarot suit 14, for a minimal price difference.
The best-paying sets (base price at Nazar):
| Set | Items | Set price |
|---|---|---|
| Coins | 15 | $540 |
| Lost Jewelry Rings | 11 | $378 |
| Megafauna Fossils | 6 | $321 |
Coins and fossils can only be found with the Metal Detector: it's the purchase that transforms the role. A small player's pleasure along the way: searching an abandoned cabin for a tarot card is a reminder of how much every interior in this world was crafted by hand.
Key items:
| Item | Role rank | Why |
|---|---|---|
| Pennington Field Shovel | 1 | $350: essential for digging |
| Metal Detector | 5 | $700: coins, fossils, buried jewelry |
| Refined Binoculars | 5 | $450: dig sites glow from a distance |
On the skills side: Divination at rank 3 (sense nearby collectibles), Potential at rank 7 (Eagle Eye shows disturbed earth), Intuition at rank 9 (smaller search area), Equine Assistance at rank 12 (pick plants without dismounting) and the Valuables Satchel upgrade at rank 16. Keep a Varmint Rifle handy too: some bird eggs sit up in trees and must be knocked down with a weak weapon. Finally, Agarita and Blood Flower only appear between 10 PM and 5 AM, in-game time.
Moonshiner: the still comes first
The routine. Buy mash, pick a recipe with Marcel, let it distill, then deliver the moonshine while taking care of your cargo: damaged product pays less. Maggie's Bootlegger missions lower the price of mash before each batch.
At first, you can only make weak moonshine, which sells for under $100 a delivery. The whole point of the role is therefore unlocking the two still upgrades:
| Item | Role rank | Why |
|---|---|---|
| Condenser Upgrade | 5 | $825: average-strength moonshine |
| Polished Copper Upgrade | 10 | $875, requires the Condenser: strong moonshine, the best paid |
| Bar Expansion | From rank 1 | $950: a bar in your shack, more for fun than profit |
At rank 15, the Master Distiller skill cuts production time. The best flavors need a collectible ingredient: Creek Plum and Agarita from the American Wild Flowers, Caribbean Rum and Absinthe from the Antique Alcohol Bottles. A natural bridge to the Collector role.
Naturalist: sedate, don't kill
The routine. Spot an animal, put it to sleep with sedative ammo fired from the Varmint Rifle, take a sample and sell it to Harriet Davenport. You can also photograph animals for her. The other path is hunting and selling pelts to Gus Macmillan, but Harriet hates it when you kill animals, and she'll let you know.
Legendary Animals are the heart of the role: the Legendary Animal Map and the Animal Field Guide point you to their habitats. Careful: Gus won't take the pelt of a Legendary you've already sampled. At rank 5, you unlock the Wilderness Camp, a temporary camp to rest, cook and craft out in the wild. What Harriet pays varies by animal and there's no fixed published rate, so we won't throw a number at you. Either way, tracking a Legendary through the mist of the Grizzlies remains one of the best moments online.
Stacking roles in one session
This is where the real money is made. A typical routine, once Trader and Moonshiner are up and running:
- When you log in: start a batch of strong moonshine with Marcel and make sure Cripps has supplies (resupply mission or a $20 order).
- Hunt near camp to fill the Trader materials. With the Hunting Wagon, one outing is often enough.
- While everything produces: chain bounties (no rushing, since time pays) or a Collector Treasure Map. Pick up flowers and bottles along the way for your moonshine flavors.
- When the wagon is full, take a distant delivery. When the moonshine is ready, deliver it.
- Keep Naturalist for separate sessions: killing for Cripps and then sampling for Harriet is a good way to get on her bad side.
Tick off a Daily Challenge for each role along the way: it's free gold and keeps your streak going.
Go further
- Red Dead Online beginner guide: role prices and buying order
- What to buy first, rank by rank
- The best weapons in Red Dead Online
- The best Ability Cards
- Red Dead Online bonuses for October 2026
- All our Red Dead Redemption 2 guides
FAQ
What is the most profitable role in Red Dead Online?
No single role wins on its own: profit comes from stacking. Trader and Moonshiner produce in the background while you do bounties or Collector runs. A full Large Wagon pays around $500 locally, a Coins set $540.
Should you sell collectibles one by one or as sets?
Always as complete sets: Madam Nazar pays a much higher fixed price for a full set. Keep duplicates to finish the next set faster.
How do you earn more from bounties?
Bring the target in alive and take your time: the reward goes up every three minutes. The Reinforced Lasso (rank 1) and the Bounty Wagon (rank 10) keep targets from escaping.
Read next
Red Dead Online Bounty Hunter role: the best unlocks by rank
Every Bounty Hunter unlock in Red Dead Online, rank by rank: Reinforced Lasso, Bolas, Bounty Wagon, skills, satchels and the Prestigious License.
6 min · Oct 10
Red Dead Online Collector role: the best unlocks by rank
Every Collector unlock in Red Dead Online, rank by rank: Pennington Field Shovel, Metal Detector, skills and satchels, plus what to skip or buy last.
6 min · Oct 10
Red Dead Online Moonshiner role: the best unlocks by rank
Every Moonshiner unlock in Red Dead Online, rank by rank: Condenser and Polished Copper still upgrades, recipes, the bar, plus what to skip or buy last.
6 min · Oct 10