Red Dead Online Collector role: the best unlocks by rank
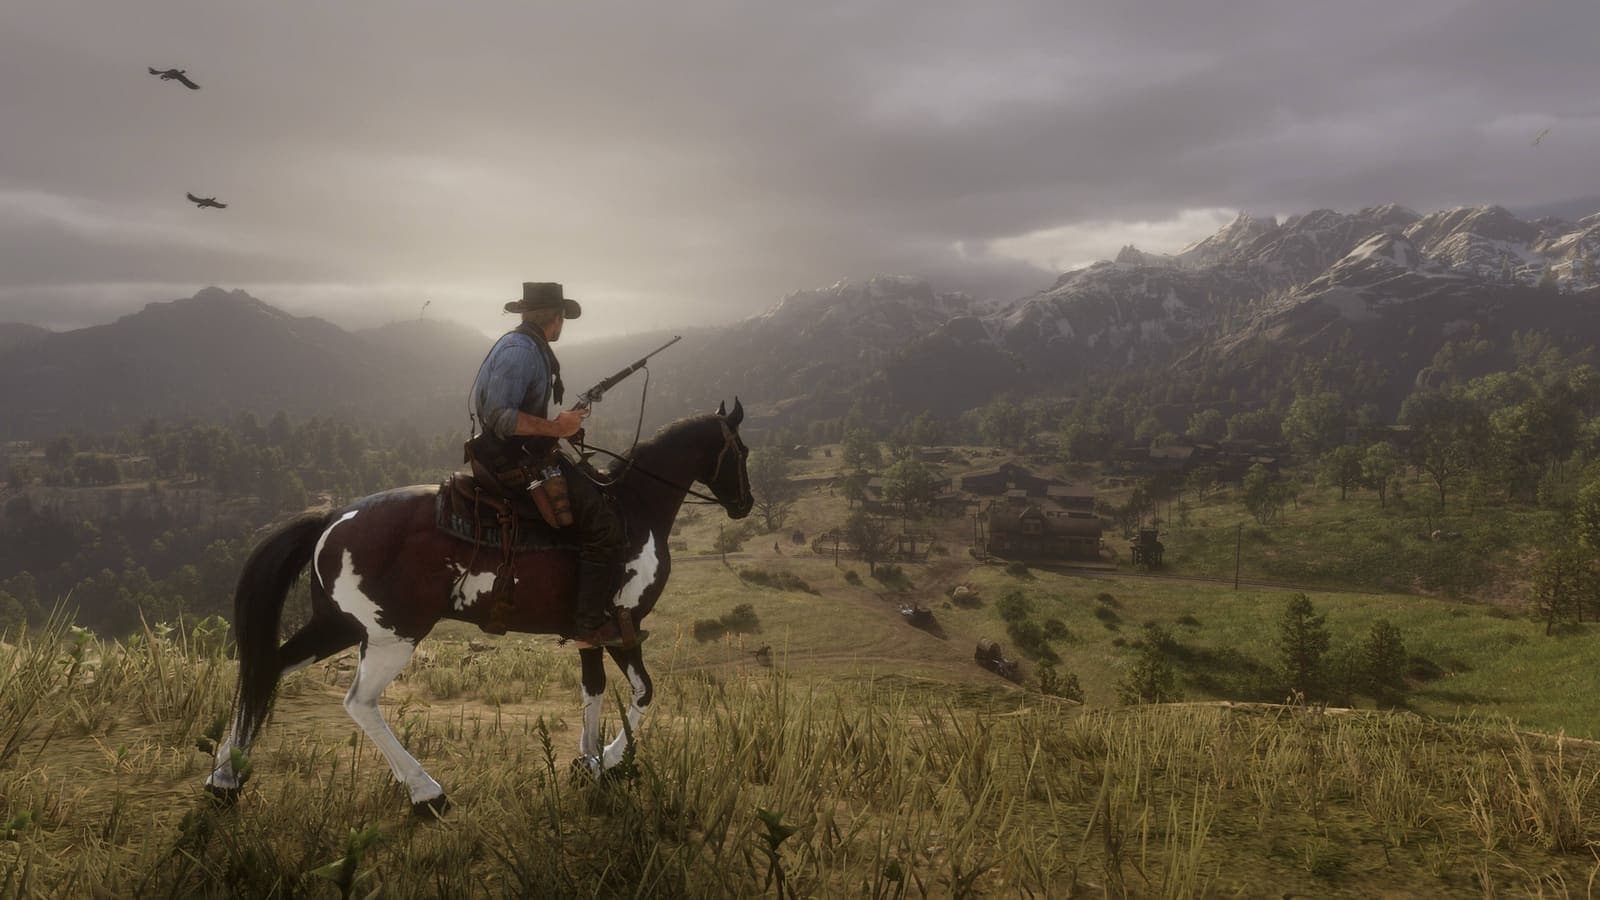
Image: official screenshot © Rockstar Games
Quick answer
For the Collector, two purchases do almost everything: the Pennington Field Shovel at rank 1 ($350) and the Metal Detector at rank 5 ($700), the only tool that finds Coins and fossils. The rest of the useful progression is free: Divination at rank 3, Potential at rank 7, Intuition at rank 9, Equine Assistance at rank 12. Leave the outfits, the gold-priced machete and the Criollo coats for last.
Collector is the Red Dead Online role that makes you look at the scenery the most: an abandoned cabin, a patch of disturbed earth, a nest up in a tree. It's also a role where two tools and four free skills do almost all the work, while the rest of the catalogue is mostly there to look good. This guide covers what each role rank gives you, what's worth your tokens and your cash, and what you can leave for last. For the farming routine itself, keep our roles farming guide close at hand.
How to become a Collector
Everything goes through Madam Nazar, the travelling fortune teller. She sells you the Collector's Bag for 15 gold bars at the standard price. Role prices regularly go on sale, so check the catalogue before you pay.
Two things to know about her:
- She moves to a different spot every day, among a dozen or so locations spread across the map. A community interactive map updated daily saves you from searching at random.
- She sells the role's tools and the Treasure Maps, one per type of collection (tarot, coins, jewelry, fossils, eggs, flowers and so on). Only one map can be active at a time.
On top of the permanent collections, Nazar asks for a weekly collection: a small themed set that changes every week. Like complete sets, you can hand it to her directly or send it from a Post Office. The reward varies from week to week, so check it in game.
Role ranks and Role Tokens: how they work
The role has 20 ranks, separate from your player rank, which only go up with Collector XP. Every five ranks you earn a new title: Novice, Promising, Established, then Distinguished.
Each rank pays out Role Tokens, two per rank according to the published progression tables. A token doesn't give you anything: it unlocks the right to buy an item, which you then pay for in cash (or in gold bars for a few cosmetics). Skills and satchel upgrades, on the other hand, come with the rank at no cost.
Two practical points:
- The total number of tokens you earn is exactly enough to unlock everything. No choice is permanent, only the order matters.
- Items are sorted into kits by tier, but the important tools of the second kit can be bought from rank 5, and the Horse Lantern from the third from rank 10.
The unlock table, rank by rank
| Rank | Item or skill | Cost | Verdict |
|---|---|---|---|
| 1 | Pennington Field Shovel | 1 token + $350 | Must-have |
| 1 | Criollo, Dun and Blue Roan Overo coats | 1 token + $150 | Look at it later |
| 1 | McKinney Saddle | Tokens + cash, price in the catalogue | Skip early on |
| 3 | Divination (skill) | Free with the rank | Must-have |
| 5 | Metal Detector | Tokens + $700 | Must-have |
| 5 | Refined Binoculars | Tokens + $450 | Useful |
| 5 | Collector Saddle Bag | Token + cash, price in the catalogue | Useful, not urgent |
| 5 | Águila Machete | 1 token + gold bars | Skip |
| 6 | Provisions Satchel Upgrade | Free with the rank | Useful everywhere |
| 7 | Potential (skill) | Free with the rank | Must-have |
| 9 | Intuition (skill) | Free with the rank | Must-have |
| 10 | Horse Lantern | 1 token + $350 | Useful |
| 10 | Criollo, Sorrel Overo and Bay Brindle coats | 2 tokens + $550 | Optional |
| 12 | Equine Assistance (skill) | Free with the rank | Must-have |
| 16 | Valuables Satchel Upgrade | Free with the rank | Useful |
| 20 | Criollo, Bay Frame Overo and Marble Sabino coats | 3 tokens + $950 | For fun |
Along the way, the role also unlocks two Free Roam events reserved for Collectors (Salvage and Condor Egg), plus more outfits and accessories such as the Witford Compass. Where a token cost or a price isn't given here, it's because sources disagree: trust the role menu in game.
Must-haves
Ranked from most to least important.
1. The Metal Detector (rank 5, $700). This is the purchase that transforms the role. It's the only tool that can find Coins and the three fossil collections, and it's also needed for some of the jewelry, arrowheads and family heirlooms buried where no dirt mound is visible. Coins ($540 a set) and Megafauna Fossils ($321 for six items) happen to be among the best-paying collections. A single Coins set already pays back three quarters of the device. And it has to be said: this little bulb-topped contraption, flickering faster as you close in, is a lovely period gadget.
2. The Pennington Field Shovel (rank 1, 1 token + $350). Without it, nothing comes out of the ground. It's your first token, no hesitation: arrowheads and a good share of the jewelry are buried.
3. Potential (rank 7, free). Eagle Eye now shows you disturbed earth. You spot dig mounds without pulling out a tool, which speeds up every stop on a Treasure Map.
4. Divination (rank 3) and Intuition (rank 9), both free. The first lets you sense when a collectible is nearby, the second narrows the search area. Together they cut down the time wasted going in circles.
5. Equine Assistance (rank 12, free). You pick plants without getting off your horse. A real comfort gain for wild flowers, and well beyond the role.
6. The Horse Lantern (rank 10, 1 token + $350). Attached to your horse's breastplate, it lights the trail without tying up your hands. It makes full sense once you know that Agarita and Blood Flower only appear between 10 PM and 5 AM, in-game time.
7. The two satchels (ranks 6 and 16). More provisions on you at rank 6, more valuables at rank 16. It's automatic and it helps all the time.
8. The Refined Binoculars (rank 5, $450). Dig sites glow from a great distance when you look through them. Pleasant, but not required to find collectibles: pick them up once the rest is paid for.
What to skip or buy last
- The Águila Machete: a machete restyled for the role, paid for in gold bars. Your gold should go to roles first.
- Outfits, the McKinney Saddle, the Witford Compass: they show off your progress but don't improve your earnings. Keep your tokens for tools until you have all the essentials.
- Criollo coats: this breed is reserved for Collectors, in three tiers (ranks 1, 10 and 20). If your current horse suits you, there's no rush, and the best coats only arrive at rank 20 anyway.
- The Collector Saddle Bag: Rockstar presents it as a horse saddlebag upgrade, but the actual gain isn't reliably documented. No urgency.
The order to spend your first tokens
At two tokens per rank, you almost never run short of tokens for tools. The real brake is cash: the three core tools cost $1,500 in total.
- Rank 1: the shovel (1 token, $350). Don't spend the other token on an outfit or a saddle.
- Ranks 2 to 4: save up. Sell your first complete sets (tarot, antique bottles, wild flowers) and put $700 aside.
- Rank 5: the Metal Detector, the same day. Follow up right away with a Coins map.
- Next: the Refined Binoculars, once one or two Coins sets have refilled your wallet.
- Rank 10: the Horse Lantern, for your night runs.
- Everything else (Criollo, outfits, saddle bag, machete) when you have tokens with nothing left to do.
How these items help outside the role
- Equine Assistance is useful every time you forage: herbs for your tonics, ingredients for Moonshiner batches, Daily Challenges.
- The Horse Lantern lights every night ride, bounties and deliveries included.
- The bigger Provisions Satchel follows you into any activity.
- Your collectibles feed the Moonshiner role. Creek Plum and Agarita, two wild flowers, along with Caribbean Rum and Absinthe, two antique bottles, are the ingredients of the best-paying flavors. Careful: a collectible used in a recipe can no longer be sold to Nazar.
- Criollos remain mounts you can ride anywhere, if you like the breed.
The detector and the shovel only serve the role. But that's exactly what makes Collector so pleasant to run in the background: you move it forward as you travel, and every interior you search is a reminder of the care that went into furnishing this world.
The routine reminder
Buy a Treasure Map, mark the spots, pick up and dig, then sell complete sets only while keeping your duplicates for the next one. Coins ($540), Rings ($378) and Megafauna Fossils ($321) are the best targets once you own the detector. The full routine, the prices and how to stack it with other roles are in our Red Dead Online roles farming guide.
Go further
- Red Dead Online roles farming guide: routines and payouts
- What to buy first, rank by rank
- Red Dead Online beginner guide: role prices and buying order
- Bounty Hunter: the best unlocks by rank
- Trader: the best unlocks by rank
- Moonshiner: the best unlocks by rank
- Naturalist: the best unlocks by rank
- Red Dead Online bonuses for October 2026
- All our Red Dead Redemption 2 guides
FAQ
At what rank do you unlock the Collector's Metal Detector?
At role rank 5. It costs $700 on top of the Role Tokens, and it's the only tool that finds Coins and fossils. It's also needed for some buried jewelry, arrowheads and family heirlooms.
Which Collector items should you buy first?
The Pennington Field Shovel at rank 1 (1 token and $350), then the Metal Detector at rank 5 ($700). Next come the Refined Binoculars (rank 5, $450) and the Horse Lantern (rank 10, 1 token and $350). Skills come free with the ranks.
Are the Refined Binoculars a must-have?
No. They make dig sites glow from a great distance, but they aren't required to find collectibles. Buy them after the shovel and the detector.
Read next
Red Dead Online Bounty Hunter role: the best unlocks by rank
Every Bounty Hunter unlock in Red Dead Online, rank by rank: Reinforced Lasso, Bolas, Bounty Wagon, skills, satchels and the Prestigious License.
6 min · Oct 10
Red Dead Online Moonshiner role: the best unlocks by rank
Every Moonshiner unlock in Red Dead Online, rank by rank: Condenser and Polished Copper still upgrades, recipes, the bar, plus what to skip or buy last.
6 min · Oct 10
Red Dead Online Naturalist role: the best unlocks by rank
Every Naturalist item and skill in Red Dead Online, rank by rank: verified prices, the must-haves, what to buy last and how to spend your Role Tokens.
7 min · Oct 10