Red Dead Online Naturalist role: the best unlocks by rank

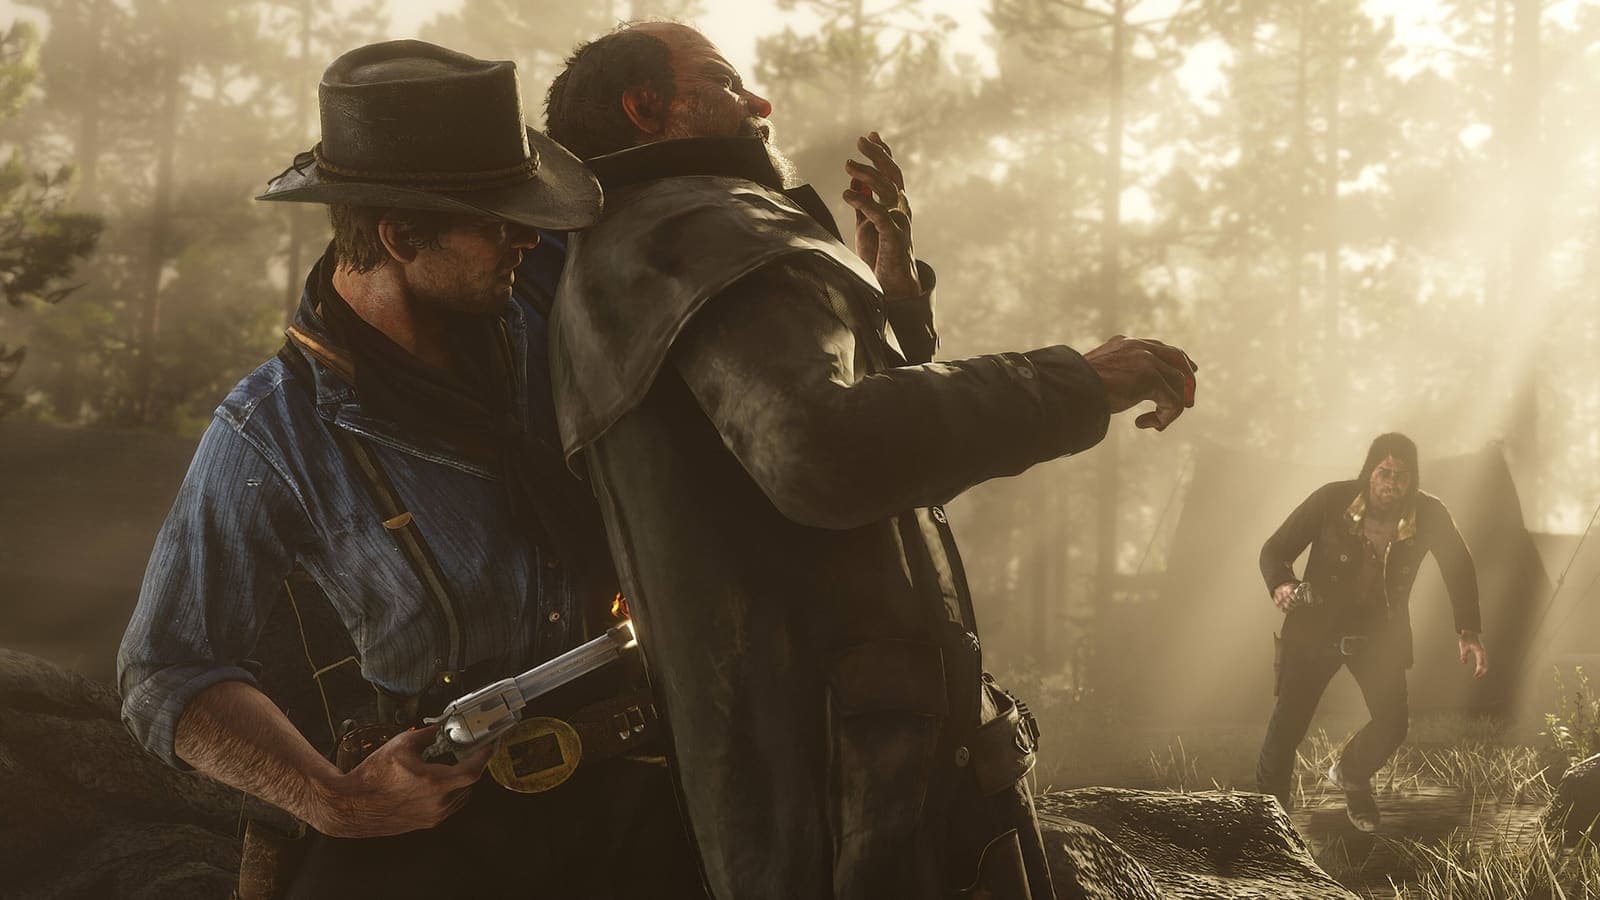
Image: official screenshot © Rockstar Games
Quick answer
You play Naturalist for its unlocks more than for its payouts. The real must-haves: sedative ammo from rank 1, the Wilderness Camp at rank 5 ($750), the Mercy skill at rank 6 and the Legendary Animal Pheromones pamphlet at rank 10 ($900). Leave the outfits, the Thorburn Holster and the Gypsy Cob coats for last: your Role Tokens are enough to unlock everything.
Naturalist is the most contemplative role in Red Dead Online: you put animals to sleep instead of shooting them, fill in a field journal and track Legendary Animals. It isn't the best-paying role, but several of its unlocks improve the rest of the game. This guide goes through every item and every skill, rank by rank, with a clear verdict: must-have, useful or buy last.
Prices are the standard rates, cross-checked across several sources. When a number couldn't be verified, we leave it out.
How to start the role
Head to the Welcome Center in Strawberry. A cutscene introduces Harriet Davenport, a passionate naturalist, and Gus Macmillan, a retired big game hunter. To start the role, buy the Sample Kit from Harriet: 25 gold bars at the standard price, as listed in our Red Dead Online beginner guide.
The kit comes with the Animal Field Guide, a journal that sorts species by habitat. You also need two things to get to work:
- A Varmint Rifle, unlocked at player rank 8 ($72).
- Sedative ammo (Sedative Varmint Cartridges), sold by Harriet at $0.80 for a box of 20.
You sedate the animal, take a sample and bring it back to Harriet, whose shops are marked on the map with a magnifying glass icon.
Role ranks and Role Tokens: how it works
Naturalist has 20 role ranks, separate from your player rank and split into four tiers: Novice, Promising, Established and Distinguished. Every rank you gain gives you Role Tokens. Three kinds of unlock sit side by side:
- Skills (Mercy, Legendary Eagle Eye, satchels) arrive automatically at the right rank, at no cost.
- Items are unlocked with tokens, then bought with cash.
- Some consumables are simply sold by Harriet once you reach the rank.
The total number of tokens earned is exactly enough to unlock everything. No choice is permanent: the only real question is the order.
The unlock table, rank by rank
| Rank | Item or skill | Cost | Verdict |
|---|---|---|---|
| 1 | Sample Kit + Animal Field Guide | 25 gold bars | Must-have: it's the entry ticket |
| 1 | Sedative ammo (box of 20) | $0.80 from Harriet | Must-have |
| 1 | Sedative Varmint Cartridge pamphlet | $585 | Useful, not urgent |
| 1 | Gypsy Cob, White Blagdon and Piebald coats | $150 + 1 token | Buy last |
| 1 | Thorburn Gun Belt | $215 + 1 token | Cosmetic |
| 3 | Kit Satchel Upgrade | Automatic | Must-have, and free |
| 4 | Naturalist Events (Free Roam events) | Automatic | Useful for role XP |
| 5 | Legendary Eagle Eye | Automatic | Must-have |
| 5 | Legendary Animal sighting missions | From Harriet | Must-have |
| 5 | Wilderness Camp | $750 + tokens | Must-have |
| 5 | Blending Tonic pamphlet | $525 | Useful |
| 5 | Animal Reviver pamphlet | $550 | Buy last |
| 5 | Vitalism Studies (Harrietum Officinalis) | First pamphlet handed over by Harriet | Just for fun |
| 6 | Mercy (Mercy Kill) | Automatic | Must-have |
| 7 | Naturalist Opportunities | Automatic | Useful |
| 10 | Animal Focus | Automatic | Useful |
| 10 | Legendary Animal Pheromones pamphlet | $900 | Must-have for Legendaries |
| 10 | Gypsy Cob, Skewbald and Palomino Blagdon coats | $550 + 2 tokens | Buy last |
| 10 | Thorburn Holster | $185 + 2 tokens | Cosmetic |
| 15 | Animal Attraction | Automatic | Useful |
| 16 | Master Tracker | Automatic | Useful |
| 18 | Tonics Satchel Upgrade | Automatic | Must-have, and free |
| 20 | Gypsy Cob, Splashed Bay and Splashed Piebald coats | $950 + 3 tokens | Useful if you like the breed |
A few notes on this table:
- Tokens: the Wilderness Camp price is confirmed everywhere, but sources disagree on its token count (one or two). Same uncertainty for the pamphlets: their cash prices are cross-checked, their possible token cost is not.
- Harriet's tonics: she also sells ready-made Blending Tonic, Animal Reviver, Legendary Animal Pheromones, a Hardy Tonic against weather effects and weight gain or weight loss tonics. Their exact prices and ranks couldn't be cross-checked.
- Cosmetics: the role also unlocks several outfits (including The Kennewick), a visual variant of the Varmint Rifle and an emote.
The gear that arrived with the role
These three items are not rank unlocks: they're sold in the catalogue or at the gunsmith.
| Item | Price | Verdict |
|---|---|---|
| Improved Bow | $275 | Useful: it takes less stamina to draw |
| Advanced Camera | $540 | Comfort: you can move while aiming, with ten filters and self-portraits |
| Elephant Rifle | $580 or 24 gold bars | Buy last: two shots, and it ruins the pelts of regular game |
The must-haves
- Sedative ammo (rank 1). No ammo, no role. Stock up every time you visit Harriet. The $585 pamphlet lets you craft it yourself: handy far from her, but not a priority.
- Wilderness Camp (rank 5, $750). A small camp you can pitch out in the wild to rest, craft and cook. It's the unlock you'll use the most.
- Legendary Eagle Eye and sighting missions (rank 5). Eagle Eye now picks out Legendary Animal trails, and Harriet starts handing you sighting missions. Some Legendaries only appear in those missions.
- Mercy (rank 6). You can finally put a wounded, dying animal out of its misery with a single prompt. Automatic and free.
- Legendary Animal Pheromones (pamphlet at rank 10, $900). This scent makes nearby Legendary Animals react and reveals their location. Pricey, but it's what turns an hour of searching into a few minutes.
- Blending Tonic (pamphlet at rank 5, $525). It shortens the distance at which animals notice you. Just as useful for approaching a Legendary as it is for hunting.
- Both satchels (ranks 3 and 18). The Kit Satchel and then the Tonics Satchel get bigger on their own. Nothing to pay, and you benefit all the time.
Animal Focus (rank 10), Animal Attraction (rank 15) and Master Tracker (rank 16) also arrive without spending anything: a narrower search area, better odds of meeting a Legendary, then improved tracking.
Harriet or Gus: the real dilemma
The whole role is built on this tug of war, and it's a lovely piece of writing: two philosophies, and a journal that asks for a bit of both.
On Harriet's side, you sell samples, photograph animals and run her missions. Completing an entire category of the Field Guide pays better than isolated samples. Amounts vary by animal, as we explain in our roles farming guide, so we won't throw a rate at you.
On Gus's side, you bring perfect carcasses and pelts. He crafts clothing, Legendary Animal coats (one Legendary pelt and several hundred dollars each) and, above all, five trinkets with permanent bonuses:
| Trinket | Price | Effect |
|---|---|---|
| Buck Antler Trinket | $775 | Higher chance of better quality pelts and skins from animals in perfect condition |
| Beaver Tooth Trinket | $795 | Slows degradation of all weapons by 10% |
| Javelina Tusk Trinket | $500 | Horse bonding 10% faster |
| Snowy Egret Trinket | $800 | Horse Health and Stamina cores drain 10% slower |
| Ram Horn Trinket | $550 | Double yield when picking Creeping Thyme, Oregano and Wild Mint |
Each trinket needs an animal part (buck antlers, beaver teeth, snowy egret plumes and so on) and one specific piece of jewelry, the same kind the Collector picks up.
Three rules to avoid trapping yourself:
- Harriet knows everything. If you kill animals, she scolds you. If you keep at it, she sprays you in the face, you wake up a little further away and she refuses to serve you for a while.
- One Legendary, two encounters. The same Legendary Animal won't give you both its sample and its pelt: you have to meet it twice if you want both.
- The journal wants it all. To take an entry to 100%, you need to have tracked, studied, sedated, sampled and photographed the animal, but also killed and skinned it. So split your sessions: one for Harriet, one for Gus.
What to buy last
What follows is advice, not a rule.
- The outfits, the Thorburn Gun Belt and the Thorburn Holster: nice to look at, no effect on your game.
- The Gypsy Cob coats: a hardy breed with good stamina, but not the fastest, and the best-statted coats only arrive at rank 20. Our guide to the best horses in RDR2 will help you compare.
- The Animal Reviver pamphlet: it's used to wake a sedated animal. A comfort more than a need.
- The Elephant Rifle: spectacular, but not very practical. If you really want it, pay in cash, not gold.
The order to spend your first Role Tokens
- Ranks 1 to 4: spend nothing on cosmetics. Leave the Gypsy Cob and the Thorburn Gun Belt alone and hold on to your tokens.
- Rank 5: Wilderness Camp first. It's the purchase that changes your sessions.
- Next, the Blending Tonic pamphlet, then Legendary Animal Pheromones as soon as you hit rank 10.
- The Sedative Varmint Cartridge pamphlet when you have cash to spare.
- Everything else at the end: Animal Reviver, Gypsy Cob coats, holster, outfits, emote.
A mistake costs you nothing: you just wait longer for the things that would really have helped.
What helps outside the role
This is the real reason to buy the role:
- The Wilderness Camp follows you everywhere: during a long hunt for the Trader, in the middle of a collectibles run, between two Bounty Hunter contracts or while you wait for a Moonshiner batch to finish. With the Wilderness Travel skill page, sold by Fences, you can even fast travel from that camp.
- Mercy helps on every hunt, whenever an animal is badly hit.
- Gus's trinkets are permanent. The Buck Antler Trinket directly helps hunters supplying Cripps, and the two horse trinkets are good for everyone.
- Blending Tonic makes any hunt easier, not just Legendary ones.
And then there are the Vitalism Studies. From rank 5, Harriet tells you about a flower she named after herself, Harrietum Officinalis. With the right pamphlet and three to five flowers depending on the animal, you briefly turn into a buck, a rabbit, a boar or an opossum. It earns you nothing, and it's the kind of gratuitous detail that makes this world so endearing.
The routine, in two lines
Stock up on sedatives at Harriet's, sedate and sample the animals in a wildlife-rich area, bring everything back by category, and add a sighting mission from rank 5. For the full routine and how to stack this role with the others, see our Red Dead Online roles farming guide.
Go further
- Red Dead Online roles farming guide: routines and stacking
- What to buy at every level, rank by rank
- Red Dead Online beginner guide: role prices and buying order
- The best weapons in Red Dead Online
- The best Ability Cards
- All our Red Dead Redemption 2 guides
FAQ
At what rank do you unlock the Wilderness Camp?
At Naturalist role rank 5, for $750 from Harriet, plus Role Tokens. To fast travel from that camp you also need the Wilderness Travel skill page, sold by Fences.
How much does the Naturalist role cost?
25 gold bars at the standard price, for the Sample Kit sold by Harriet Davenport at the Welcome Center in Strawberry. Keep an eye on monthly event discounts.
Should you help Harriet or Gus?
Harriet to progress: she buys your samples, hands out the missions and sells the role's items. Gus crafts the trinkets with permanent bonuses and the Legendary coats. Sample first, hunt for Gus in a separate session.
Read next
Red Dead Online Bounty Hunter role: the best unlocks by rank
Every Bounty Hunter unlock in Red Dead Online, rank by rank: Reinforced Lasso, Bolas, Bounty Wagon, skills, satchels and the Prestigious License.
6 min · Oct 10
Red Dead Online Collector role: the best unlocks by rank
Every Collector unlock in Red Dead Online, rank by rank: Pennington Field Shovel, Metal Detector, skills and satchels, plus what to skip or buy last.
6 min · Oct 10
Red Dead Online Moonshiner role: the best unlocks by rank
Every Moonshiner unlock in Red Dead Online, rank by rank: Condenser and Polished Copper still upgrades, recipes, the bar, plus what to skip or buy last.
6 min · Oct 10