RDR2 treasure maps: every solution in story mode
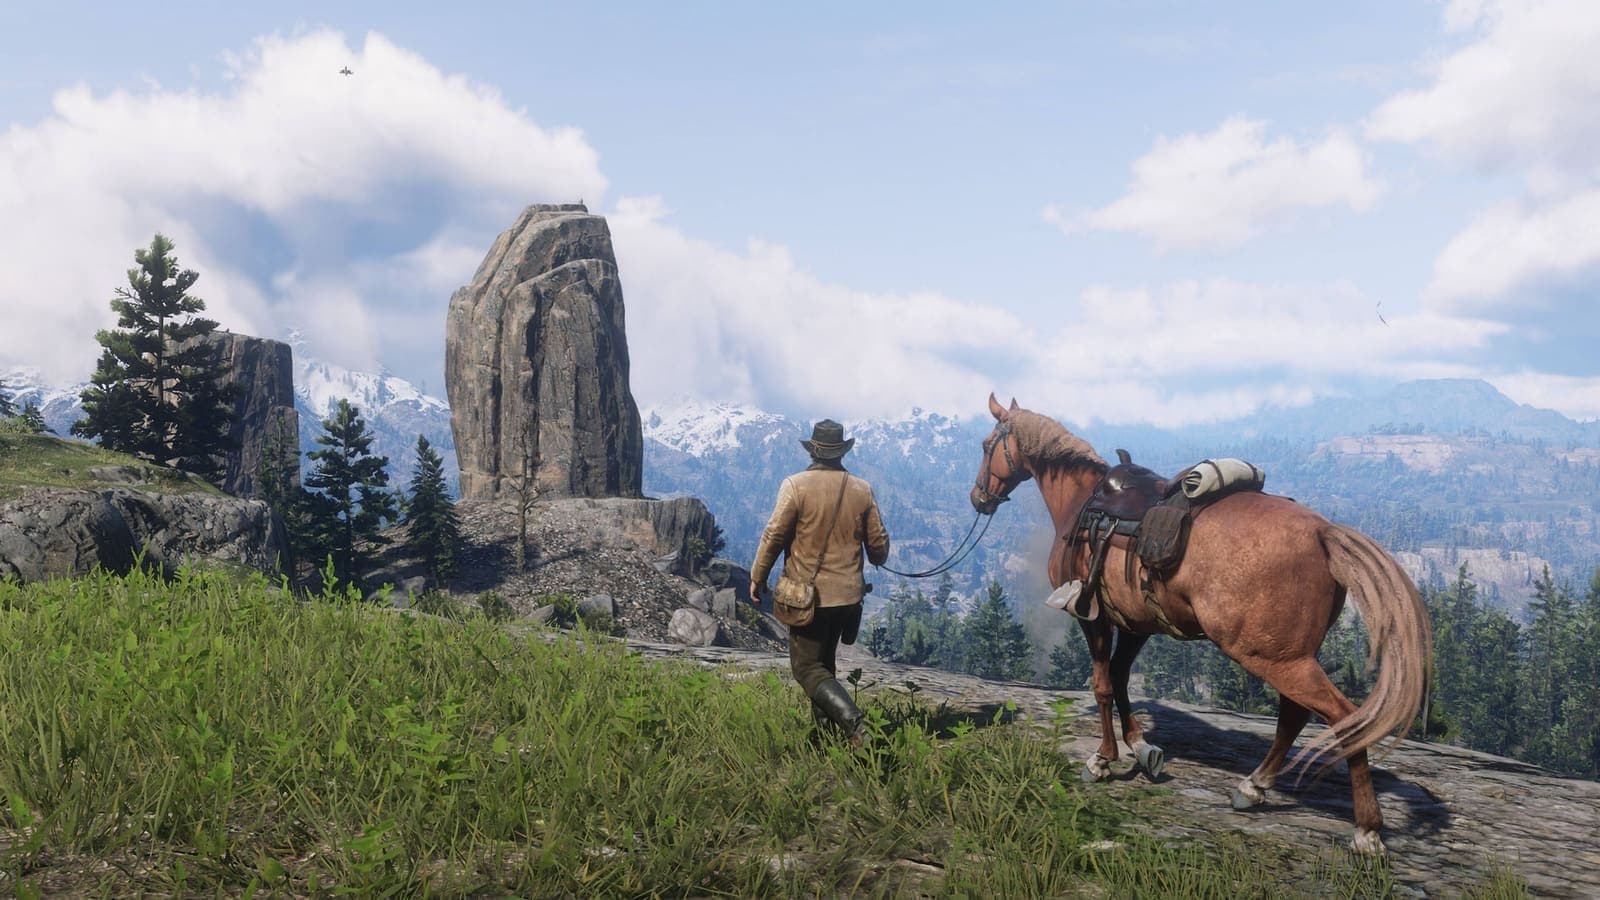
Image: official screenshot © Rockstar Games
Quick answer
The four big story mode treasure hunts pay 15 gold bars, or $7,500 at a Fence ($500 per bar): Jack Hall Gang (2 bars), High Stakes (3), Poisonous Trail (4) and Landmarks of Riches (6). Each map is a sketch pointing to a real landmark where the next map is hidden. Start with Jack Hall in Chapter 2: the first map costs $10 from Maximo, near Flatneck Station.
A pencil sketch, a waterfall, a rock shaped like a face: Red Dead Redemption 2's treasure hunts never hold your hand. They ask you to look up and read the land, and that's where the game's world shines, with every cliff and clearing distinct enough to recognize from a drawing. Treasure maps are also one of the best ways to fill your satchel in Red Dead Redemption 2 story mode. They aren't real maps but sketches: a rock, a waterfall, a bell tower. It's up to you to recognize the place, find the next map there, then the final stash of gold bars. Here's every solution, step by step.
How treasure hunts work
- Each hunt is a chain: the first map leads to a stash holding the second map, and so on until the treasure.
- Your maps live in your satchel, under Documents. The drawing is your guide: compare it with the scenery.
- On site, the stash (hollow trunk, rock pile, window) can be inspected with a button prompt once you're right next to it.
- Gold bars sell for $500 each at any Fence, for example in Saint Denis, Rhodes or Van Horn.
For other income sources, see our guide on how to make money in Red Dead Redemption 2.
Summary table
| Hunt | First map | Steps | Reward |
|---|---|---|---|
| Jack Hall Gang | Maximo, near Flatneck Station | Caliban's Seat, Cotorra Springs, O'Creagh's Run | 2 gold bars ($1,000) |
| Poisonous Trail | Cairn Lake cabin | Face Rock, Serpent Mound, Elysian Pool | 4 gold bars ($2,000) |
| High Stakes | Treasure hunter (random encounter) | Cumberland Falls, Barrow Lagoon, Fort Wallace ridge | 3 gold bars ($1,500) |
| Landmarks of Riches | Big Valley obelisk | Tiny Church, Mysterious Hill Home, Bolger Glade, Mount Shann | 6 gold bars ($3,000) |
| The Elemental Trail | Hanged man by the Sea of Coronado (Epilogue) | Greenhollow, Benedict Point, Coot's Chapel | 1 gold bar + Crow Beak Trinket |
Jack Hall Gang Treasure
The Jack Hall Gang, a band of outlaws from the past, stashed their gold somewhere between New Hanover and Ambarino. It's the ideal hunt to start with: it's available from Chapter 2.
Getting the first map
Find Maximo, a treasure hunter standing on a ridge above the river, northwest of Flatneck Station (north of Bard's Crossing). He sells you the map for $10, and drops to $5 if you turn down the first offer. You can also rob him to grab it, but $10 is the simplest option. If you miss him, a Fence sells it later.
Step 1: Caliban's Seat
The sketch shows Caliban's Seat, the big rock formation south of Valentine. Climb the east side to the top, then follow a path through the rocks heading down. Work your way along the ledge, jumping the gaps, until you reach a large slab of white granite with a small hole in it: the second map is inside.
Step 2: Cotorra Springs
The second map leads to Cotorra Springs, the hot springs just east of the line between the Grizzlies West and the Grizzlies East. Head to the west end of the springs: a group of rock stacks stands in a circle there. The third map is in the central stack. Careful, it's also the territory of the legendary wolf.
Step 3: O'Creagh's Run
The last map sends you to the lake at O'Creagh's Run, north of Three Sisters in the Grizzlies East. From Emerald Ranch, head straight north into the hills. Swim to the small rocky island in the middle of the lake: the treasure is under a rock.
Reward: 2 gold bars, or $1,000 at a Fence.
Poisonous Trail Treasure
Nobody tells you about this one: you find the first map by exploring. It's available from Chapter 2.
Getting the first map
Ride up into the Grizzlies West to Cairn Lake, southeast of Colter (the snowy area from Chapter 1). Go into the lakeside cabin: the map is in a lockbox under the bed, next to the door.
Step 1: Face Rock
The sketch shows a rock shaped like a face. That's Face Rock, in Scarlett Meadows (Lemoyne), north of Rhodes: it sits on the left side of the road as you head northwest of Hill Haven Ranch. From the rock, go right, past a tree and down the slope: behind a dead tree trunk still standing, next to a fallen log, inspect the hole at its base.
Step 2: Serpent Mound
The next map shows a snake drawn on the ground. That's the Serpent Mound, a geoglyph in lower Roanoke Ridge, west of the Van Horn Trading Post, along the road heading down to the Kamassa. A nearby abandoned tower lets you see the drawing from above. The map is in the rock pile at the center of the snake's round end.
Step 3: the Elysian Pool cave
The last map shows a waterfall with a passage behind it. Go to Elysian Pool, in central Roanoke Ridge, and go through the big waterfall at the north end of the pool. Equip your lantern, the cave is pitch black.
- In the first large corridor, drop down on the right into a sloping pit.
- At the bottom, crouch through the small hole in the right-hand wall.
- At the fork, go right past the abandoned campsite (it hides a lockbox).
- On the next ledge, build up speed and jump to the lower ledge on the left.
- Slide down the long slope to the dead end: the treasure is in the rock pile on the left.
Reward: 4 gold bars, or $2,000.
High Stakes Treasure
You'll have to steal this one. It starts with a random encounter, from Chapter 3 (after the mission "The New South").
Getting the first map
Look for a treasure hunter scanning the area between Valentine and Strawberry, often on top of a large rock northeast of Riggs Station. He won't hand over his map: lasso and hogtie him, or hold him up, then loot him. To avoid losing honor, you can also sprint straight into him: he drops the map. If you miss him several times, the map ends up for sale at Fences.
Step 1: Cumberland Falls
The sketch leads to Cumberland Falls, west of Valentine. Reach the base of the falls, get onto the rocks on the side and use the fallen tree that lets you climb behind the waterfall. The second map is hidden there. Take a moment to watch the curtain of water from the inside: it's the kind of small moment RDR2 saves for the players who explore.
Step 2: Barrow Lagoon
Head to the Grizzlies West, northwest of Valentine: Barrow Lagoon is a frozen lake between Lake Isabella and Widow Rock. Go down onto the ice and spot the fallen tree bridging the island and the shore: the third map is in a knot of that log.
Step 3: the Fort Wallace ridge
The last map takes you to the large rock formation northeast of Fort Wallace, between the fort and Bacchus Station. Ride up the back side of the cliff to the saddle between the two peaks, then head down to the ledge and turn left. Go carefully: the slope easily sends you sliding. Drop from ledge to ledge and crouch under a low overhang: the bars are wedged in the rocks at the end.
Reward: 3 gold bars, or $1,500.
Landmarks of Riches
Don't mix it up with High Stakes: it's a separate hunt with four maps, and the most generous in the game.
Getting the first map
Go to the Obelisk, northwest of Lake Owanjila in Big Valley (West Elizabeth), right against the western edge of the map. Examine the plaque on the west side of the monument: it hides an opening with the map.
Step 1: Tiny Church
The drawing shows a divine hand pointing at a church. That's the Tiny Church, standing alone in the swamps of Bayou Nwa, east of Lakay. Climb onto the roof and search the bell tower: the second map is there.
Step 2: Mysterious Hill Home
The next map shows a turtle with a broken shell. Head to the Mysterious Hill Home, in the Grizzlies East, east of Donner Falls and the Bacchus Bridge: a turtle is painted on its roof. Climb up and search the broken window.
Step 3: Bolger Glade
The sketch shows a cannon turning into a fallen tree, pointing at a stump. Head to Bolger Glade, the old battlefield south of Rhodes. Near the southern edge, find the tree stump surrounded by trenches, near a discarded cannon and a log spanning one of the trenches. The fourth map is in the stump.
Step 4: the Mount Shann sundial
The last map shows a sun rising over a ridge and a sundial, with the 7 highlighted. Go back to the stone sundial on Mount Shann, north of Strawberry, within sight of the Obelisk. Approach from the west and examine the rock at the 7 o'clock position: the treasure is underneath.
Reward: 6 gold bars, or $3,000.
The Elemental Trail (after the Epilogue)
This hunt takes place in New Austin, so only after Chapter 6.
Getting the first map
On the shores of the Sea of Coronado, southwest of Tumbleweed, a body hangs from a rope against a canyon wall. Shoot the rope and loot the body.
Step 1: Greenhollow
The drawing shows a chimney near a large body of water: that's Greenhollow, a ruined homestead by the San Luis River in Hennigan's Stead. Search the fireplace.
Step 2: Benedict Point
The next map shows a tower and a sloping walkway. At Benedict Point (Río Bravo), water tanks are linked to the railroad by a trough on stilts. Get onto it from the top of the hill and walk about halfway down to find the third map.
Step 3: Coot's Chapel
The last map shows a steeple and a cross. Go to Coot's Chapel, southeast of Armadillo. In the cemetery, left of the chapel, find the wooden cross under a tree and examine the large rock on the grave.
Reward: 1 gold bar, the Crow Beak Trinket and some horse medicine.
Other maps
There are other, more minor maps, such as Le Trésor des Morts, a bonus reserved for some editions and pre-orders of the game. You don't need them to enjoy the big rewards above.
Go further
- All our Red Dead Redemption 2 guides in one place
- How to make money fast in RDR2, gold bars included
- All 16 RDR2 legendary animals and their rewards, often on the same route
- The best horses in RDR2, to cross the map faster
- Red Dead Redemption 2 beginner tips
- RDR2's incredible details
FAQ
How much do RDR2 treasure maps pay?
Jack Hall Gang gives 2 gold bars, High Stakes 3, Poisonous Trail 4 and Landmarks of Riches 6. A bar sells for $500 at a Fence, so $7,500 for all four. The Elemental Trail, after the Epilogue, adds one bar and a trinket.
Where do you get the first Jack Hall Gang map?
From Maximo, a treasure hunter on a ridge above the river near Flatneck Station, from Chapter 2. He sells it for $10, or $5 if you turn him down once. If you miss him, a Fence sells it later.
Are High Stakes and Landmarks of Riches the same hunt?
No, they're two separate hunts. High Stakes starts with a treasure hunter you meet at random and has three maps for 3 bars. Landmarks of Riches starts at the Big Valley obelisk and chains four maps for 6 bars.
Filed under
Read next
Best RDR2 controller settings: aiming, camera and HDR
The best Red Dead Redemption 2 controller settings: dead zone, acceleration, lock-on, camera and HDR, plus what each console and PC can really deliver.
7 min · Oct 10
Best RDR2 PC graphics settings: the optimized guide
The best Red Dead Redemption 2 PC graphics settings: system requirements, Vulkan or DX12, DLSS and FSR 2, and an optimized table setting by setting.
8 min · Oct 10
RDR2 on a low-end PC, laptop and Steam Deck: best settings
Running Red Dead Redemption 2 on a modest PC, a laptop or a Steam Deck: minimum specs, which settings to lower first, FSR 2 and the 30 FPS cap.
6 min · Oct 10